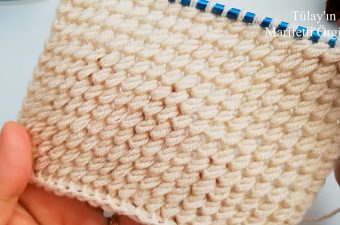
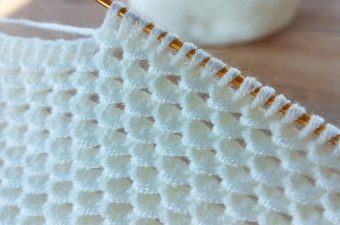
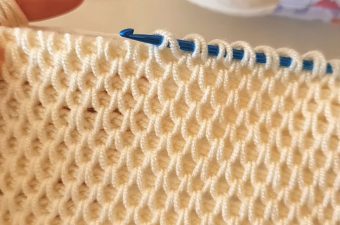
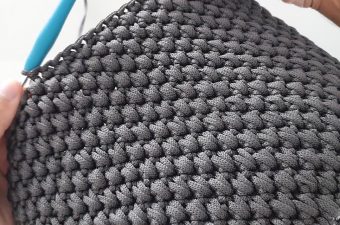
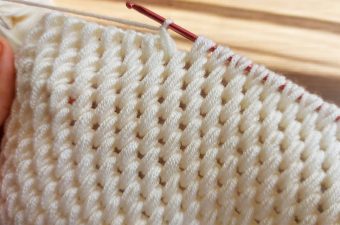
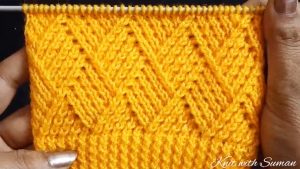
Learn making the cartridge belt rib stitch that is a classic stitch pattern that combines simplicity with a strikingly textured appearance.
THE CARTRIDGE BELT RIB STITCH
The world of knitting and crochet is vast and diverse, offering an endless array of stitches that each bring their own unique texture and character to a piece. One such stitch, steeped in classic charm and versatility, is the Cartridge Belt Rib Stitch. Whether you’re crafting a cozy scarf, a snug sweater, or a stylish blanket, this stitch can add a touch of timeless elegance to your project. Let’s delve into the intricacies of the Cartridge Belt Rib Stitch and discover how to master this beautiful technique.
Knitting Related Posts:
Related Posts
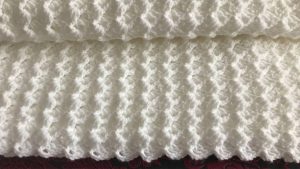
Its name is derived from its resemblance to the belts used for carrying cartridges, which have a similar ribbed structure. This stitch is perfect for adding a bit of flair to your knitting without overly complicating your project. Its repetitive pattern makes it an excellent choice for knitters of all levels, from beginners to seasoned pros.
Materials and Preparation
Before we dive into the pattern, let’s gather our materials. Choose a yarn that suits your project. The Cartridge Belt Rib Stitch looks beautiful in both solid colors and variegated yarns. Select needles that are appropriate for your yarn weight. Typically, a 3mm needle works well. Keep a yarn needle and scissors handy for finishing your piece. With your materials ready, it’s time to cast on and begin your journey.
Understanding the Pattern
The beauty of the Cartridge Belt Rib Stitch lies in its simplicity. The pattern is straightforward: Purl 3, Knit 1. This sequence is repeated across the row and creates a delightful ribbed texture that’s both stretchy and visually appealing. Let’s break down the steps:
- Cast On: Start by casting on a multiple of 4 stitches. This ensures that your pattern will repeat evenly across the row.
- Row 1: Purl 3, Knit 1. Repeat from * to * until the end of the row.
- Repeat Row 1: Continue repeating this row for the entire length of your project.
That’s it! The simplicity of this stitch makes it incredibly easy to remember, allowing you to knit mindfully or while watching your favorite TV show.
Tips for Perfecting the Cartridge Belt Rib Stitch
As with any stitch, practice makes perfect. Here are a few tips to help you master the Cartridge Belt Rib Stitch:
- Tension: Keep an even tension throughout your knitting. This ensures that your ribbing remains consistent and neat.
- Counting Stitches: Periodically count your stitches to ensure you haven’t accidentally added or dropped any. This can be especially helpful for beginners.
- Yarn Choice: Experiment with different yarns to see how they affect the texture of the stitch. Some yarns may highlight the ribbing more distinctly than others.
Applications of the Cartridge Belt Rib Stitch
The versatility of the Cartridge Belt Rib Stitch means it can be used in a variety of projects. Here are a few ideas to inspire you:
- Scarves: The stretchiness of the ribbing makes for a cozy and comfortable scarf that’s perfect for chilly weather.
- Sweaters: Use this stitch for the cuffs, hem, or even the entire body of a sweater for a classic, textured look.
- Blankets: Create a beautiful, warm blanket that showcases the stitch’s ribbed texture.
- Hats and Mittens: Add a bit of ribbing to your winter accessories for extra warmth and style.
The Cartridge Belt Rib Stitch is a wonderful addition to any knitter’s repertoire. Its classic, ribbed texture and ease of execution make it a go-to stitch for a variety of projects. Whether you’re a beginner looking to expand your skills or an experienced knitter seeking a new favorite stitch, this knit stitch offers a world of possibilities. So, grab your needles and yarn, and start creating beautiful, textured pieces with this timeless stitch.
Follow CrochetBeja on your favorite social media sites: Facebook, Pinterest, Youtube , Instagram and subscribe for the Newsletter so you don’t miss a thing!



Leave a Reply