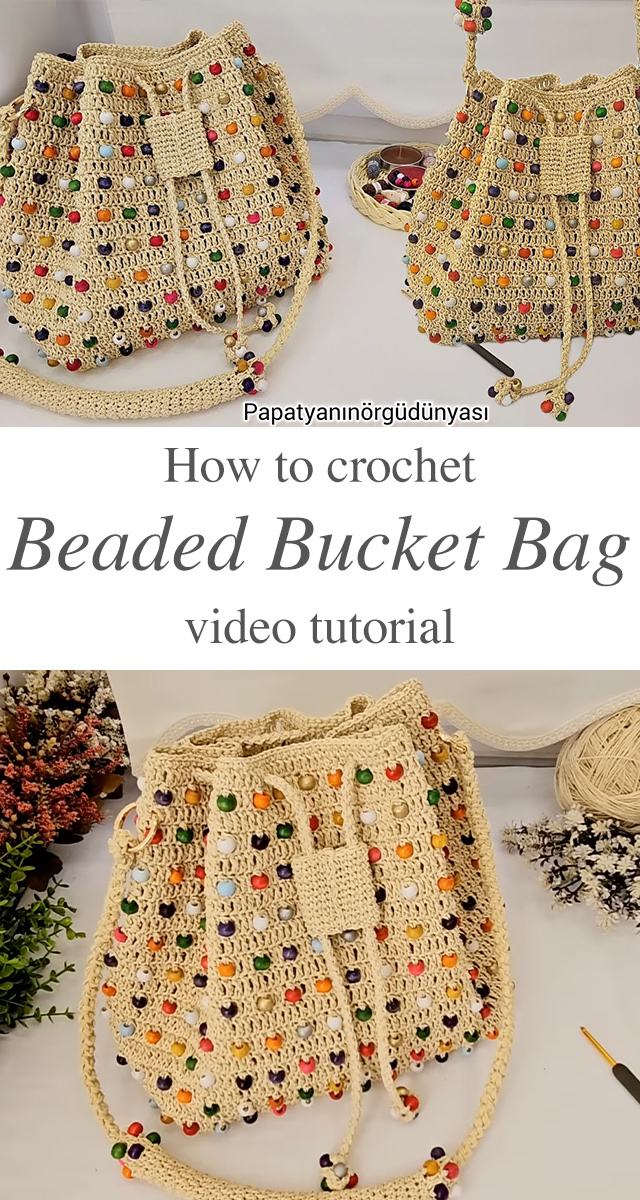
In the world of crochet, few creations stand out as much as the crochet beaded bucket bag.
THE CROCHET BEADED BUCKET BAG
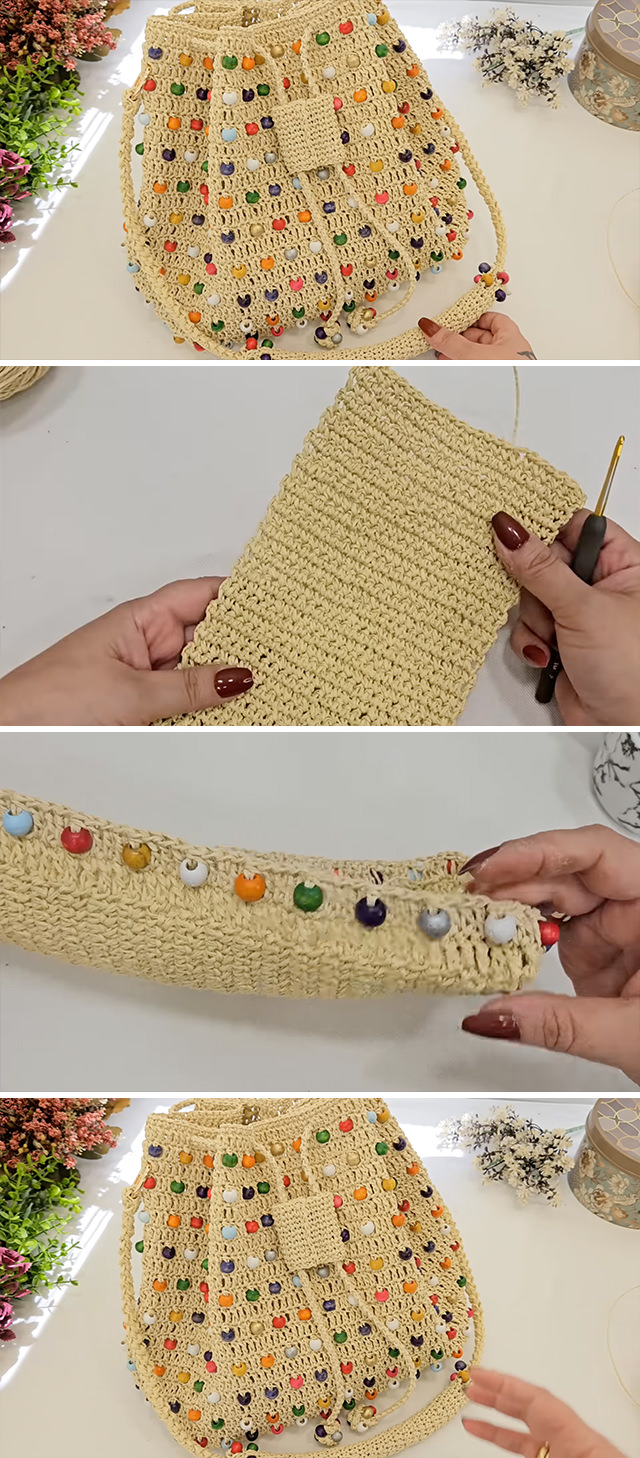
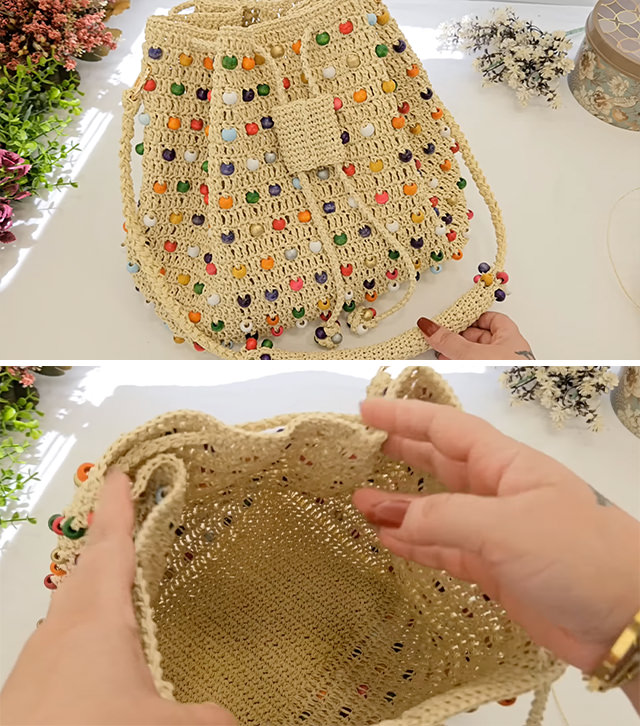
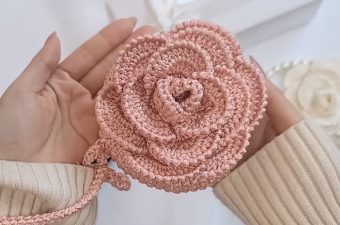
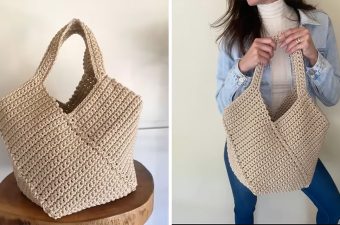
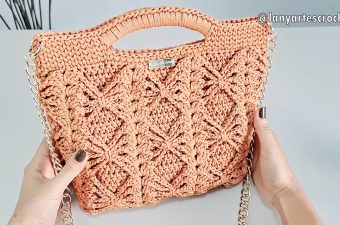
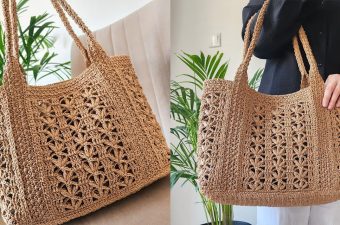
A crochet beaded bucket bag isn’t just an accessory; it’s a statement piece that showcases your personal style and creativity. The unique combination of crochet stitches and colorful beads creates a tactile and visual masterpiece that is both durable and fashionable. The bucket shape offers ample space for your essentials, while the beads add an eye-catching sparkle that can elevate even the simplest outfit.
Bag Related Posts:
Related Posts
This bag is perfect for summer outings, casual gatherings, or even as a unique gift.
Materials Needed
Selecting the right materials is crucial to achieving the desired look and feel of your crochet beaded bucket bag. For this project, you’ll need cotton yarn, a 4mm crochet hook, and beads of your choice. The size and color of the beads can be tailored to your personal style. You might also want to have a lining fabric and a drawstring for the finishing touches. The materials you choose will significantly impact the final look of your bag, so take your time selecting the perfect combination.
Starting the Crochet Beaded Bucket Bag
The foundation of your crochet beaded bucket bag begins with a sturdy base. Start with a magic ring, which provides a seamless beginning to your project. Work in rounds to create a flat circle, gradually increasing the number of stitches to form the base. As you crochet, ensure that your stitches are tight and even, as this will determine the bag’s durability. The base should be solid enough to support the weight of the beads and the items you’ll carry in the bag.
Shaping the Body
The body of the crochet beaded bucket bag is where your creativity can truly shine. After completing the base and adding the beads, you’ll start crocheting in rounds without increasing stitches. This will naturally cause the fabric to curve upwards, forming the body of the bag. You can experiment with different stitch patterns, such as the single crochet or half-double crochet, to create a texture that complements the beads. Keep in mind that the tighter the stitch, the more structured your bag will be.
Crafting the Handle and Finishing Touches
No bucket bag is complete without a sturdy handle. You can crochet a simple strap by creating a long chain and working back and forth in rows until it reaches your desired thickness. Attach the handle securely to the sides of the bag, ensuring it can bear weight without stretching. For a polished look, consider lining the inside of the bag with fabric to hide any loose ends and reinforce the structure. Adding a drawstring closure can also enhance the bag’s functionality and give it a chic, finished look.
Creating your own crochet beaded bucket bag is a rewarding experience that combines craftsmanship with fashion. Not only do you end up with a unique accessory that reflects your personal style, but you also gain the satisfaction of knowing you made it with your own hands. Whether you’re a seasoned crocheter or a beginner looking for a new challenge, this project offers the perfect opportunity to expand your skills and create something truly special.
Follow CrochetBeja on your favorite social media sites: Facebook, Pinterest, Youtube , Instagram and subscribe for the Newsletter so you don’t miss a thing!
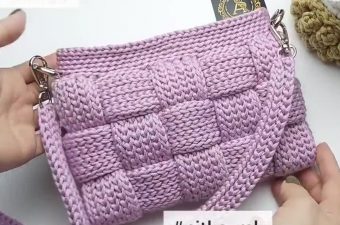
Tutorial and photos of this crochet beaded bucket bag by: Papatyanın Örgü Dünyası.


Charlene
Where can I find the pattern for the bead purse? Written directions