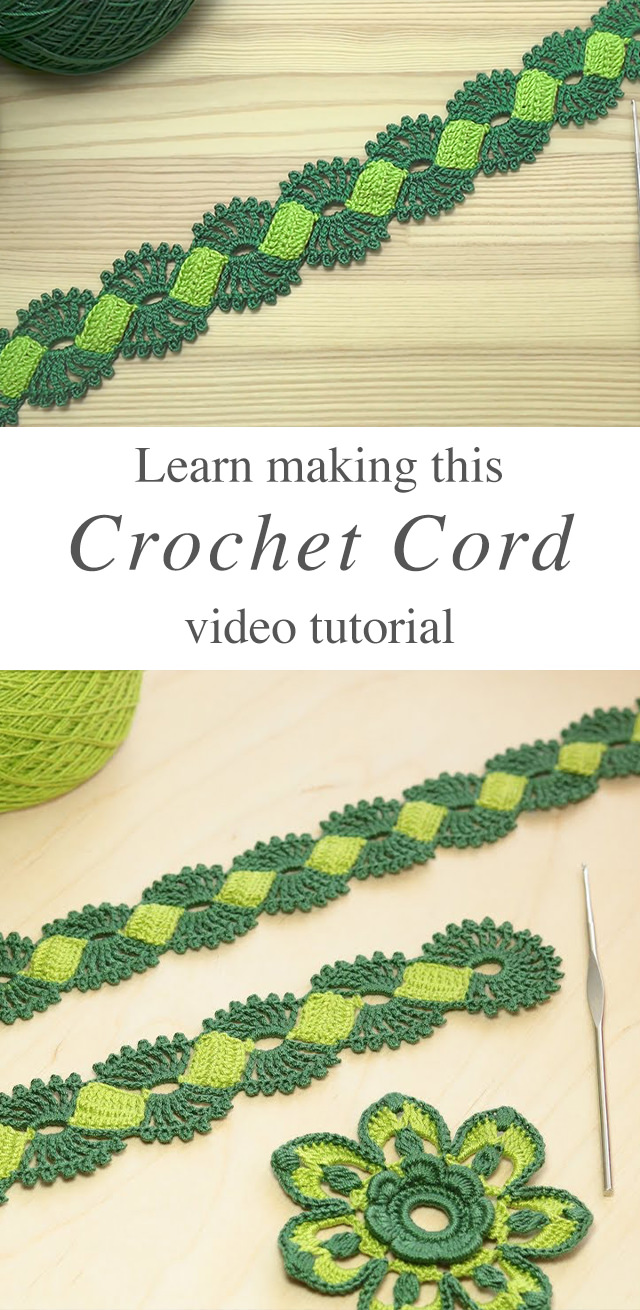
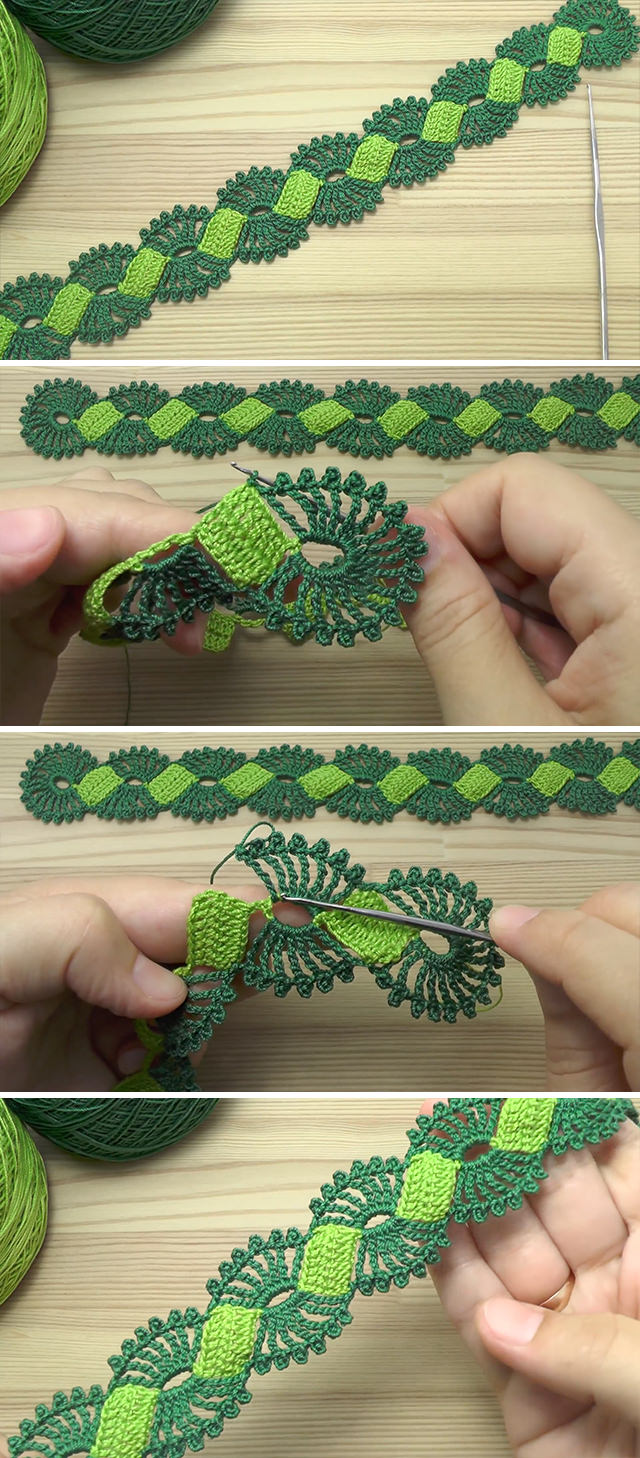
This beautiful crochet cord lace tape with two shades of green is so easy to make. It is a popular crochet project because it beautifies objects and accessories. Watch this free video tutorial to learn how to crochet this cord.
HOW TO MAKE THIS TAPE LACE CROCHET CORD?
To perfectly design this crochet cord, you must use a 2 mm steel hook and lightweight yarn. You may also use a 2.25 mm and any crochet gauge you want. The finished length of the lace cord is up to you. There are so many useful and decorative products you can make using this lace tape cord.
Crochet Cord Related Posts:
Related Posts
Continue reading for ideas that use this crochet cord for decoration.
Scarves and shawls are some of the most popular crochet ribbon projects. Even so, there are more creative ways of applying the crochet cord! You can make a sheer crochet top for the summer using this gorgeous lace ribbon design! Another summer top that would look great with the lace cord is a halter top!
For a bridal shower gift, you can make a beautiful light blue ribbon for the bride to wear on her wedding day to fulfil the “something blue” part of the popular bridal tradition.
Aside from clothing, there are other unique projects you can adorn using the lace cord! You can wrap the crochet ribbon around a flower jar, or use it as a napkin ring. If you are in love with the pattern used in this particular pattern, you can even continue a longer version of this cord with a larger width to make a table runner.
You can even use it to make a stylish bookmark for a novel you cannot put down! The ideas for the crochet cord lace tape are endless, so start crocheting your lacy halter top, napkin rings, and bookmark today!
Don’t forget to share this article with your friends!
Follow CrochetBeja on your favourite social media sites: Facebook, Pinterest, Youtube, Instagram and subscribe for the Newsletter so you don’t miss a thing!
Crochet cord lace tape photos and video by: Уроки ВЯЗАНИЯ Литке Татьяны



CJ Marienthal
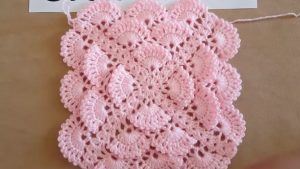
Is there a pattern available for the 7-petaled flowers shown in the photo?
Susan Millodot
SO DISAPPOINTED!! ALL COMMENTARY IS IN RUSSIAN!! NO ENGLISH. YET ALL THE MAIN TEXT IS ENGLISH, VERY MISLEADING INDEED!!
Susan S.
So? The tutorial is clear as can be. I understand maybe five words of Russian, and I followed the pattern without any trouble. If you can count and follow visual directions, you’ll be fine.
Coral
I agree. Why is this not in English? Very misleading & ineffective.
Always have an ENGLISH pattern. English is international language.
CJ Marienthal
My best interpretation (I don’t speak Russian):
1) With color 1, make a slip knot, Ch 12, join with a sl st into a circle.
2) Ch 11. Make a dc in 4th st from hook, 7 dc in the chain. Turn.
3) Ch 3. Make 7 dc back across.
4) Ch 6. Make 1 dTr in the base of chain to form a loop.
5) Repeat steps 2-4 to desired length.
6) Finish with another ch 12 loop, fastening with a sl st into first chain st. Fasten off.
7) With color 2, attach to one end loop and ch 7.
8) Attach with a sl st into the corner of next color 1 rectangle. Ch 1.
9) Make 6 (1 dTr, 3 ch picot) in the next loop, 1 dTr, attach with sl st into corner of next rectangle.
10) Repeat steps 8 & 9 to the end loop. 1 sl st into loop.
11) Make 17 (1 dTr, 3 ch picot) around loop, 1 dTr. Attach with a sl st into corner of rectangle at the other side.
12) Repeat steps 8 & 9 to the end loop. 1 sl st into loop.
13) Make 17 (1 dTr, 3 ch picot) around loop. Attach with a sl st into top of the chain. Fasten off. Weave in tails.