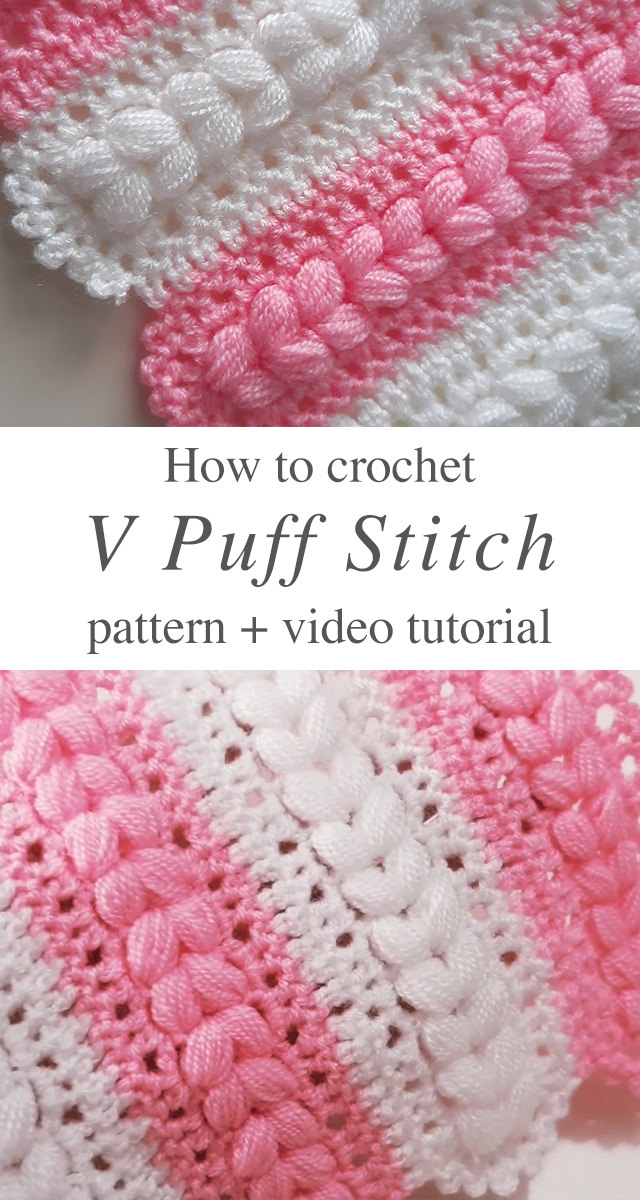
This tutorial will teach you how to crochet a beautiful v puff stitch crochet pattern that can be used in a diverse array of projects.
V PUFF STITCH CROCHET
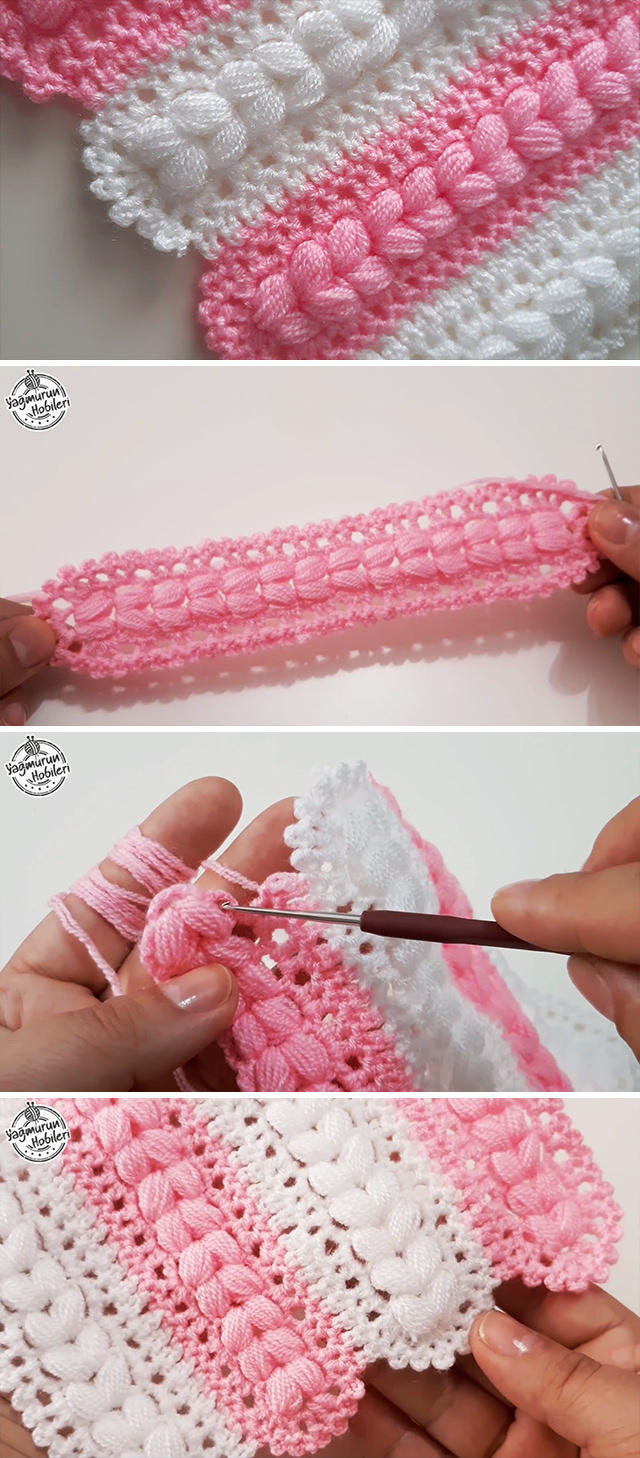
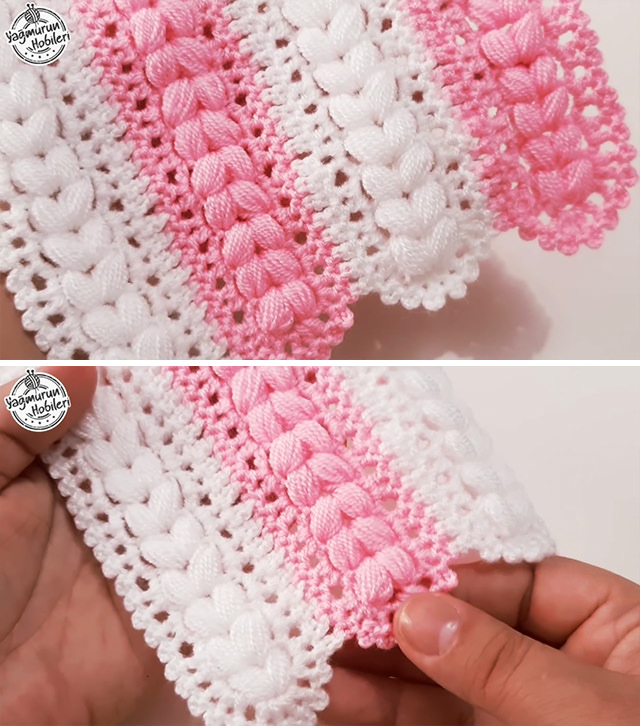
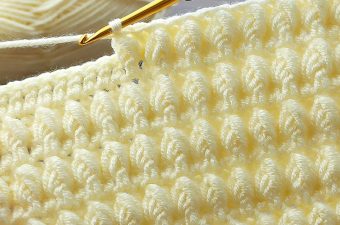
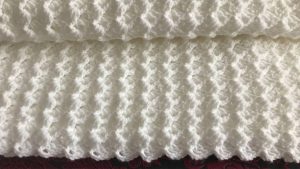
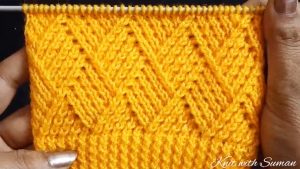
This v puff stitch crochet looks complicated but it’s easy to follow, all you need to follow the written instructions with the video tutorial. The texture of the v puff stitch crochet pattern is very rich and gives the fabric a very thick look. This V Puff stitch gives a wonderful look to a lot of projects especially for blankets.
Stitches Related Posts:
Related Posts
If you are looking for a quick, fun way to make something special for someone in your life, this v puff stitch crochet pattern would be perfect idea.
Materials
To create this v puff stitch crochet pattern, you will need a crochet hook of 1.7 mm and lace weight yarn; we will use 2 strands of yarn.
Pattern of Crochet V Puff Stitch
Abbreviations:
Chain(s) = Ch
Single crochet = sc
Double crochet = dc
Slip stitch = sl st
Stitch = st
– Row 1: ch8, sl st to the first ch to make a ring, ch4, *yarn over, insert hook into the ring, pull through, yarn over, insert hook into the ring, pull through, yarn over, insert hook into the ring, pull through, yarn over, insert hook into the ring, pull through, yarn over, pull through all loops*, ch4, repeat * for one more time, ch1, yarn over twice, insert hook into the ring, pull through, yarn over, pull through one loop, yarn over, pull through two loops, yarn over, pull through two loops, yarn over, pull through two loops, ch4, turn.
– Row 2: *yarn over, insert hook into the ch-4 space, pull through, yarn over, insert hook into the same space, pull through, yarn over, insert hook into the same space, pull through, yarn over, insert hook into the same space, pull through, yarn over, pull through all loops*, ch4, repeat * for one more time, ch1, yarn over twice, insert hook into the last st, pull through, yarn over, pull through one loop, yarn over, pull through two loops, yarn over, pull through two loops, yarn over, pull through two loops, ch4, turn.
– Row 3-14: repeat previous row.
– Border: turn, sc in the ch-4 space, ch3, dc in the same space, ch4, sc in the space between the current dc and the previous ch3, *dc in the same space, ch4, sc in the space between the current dc and the previous dc*, repeat * for one more time, turn your work 90° clockwise, *** (** dc in the next space, ch4, sc in the space between the current dc and the previous dc, dc in the same space, ch4, sc in the space between the current dc and the previous dc**), dc in the same space, ch4, sc in the space between the current dc and the previous dc***, repeat ** across the row until reach the last space, repeat *** in the last space, turn your work 90° clockwise, dc in the next space, ch4, sc in the space between the current dc and the previous dc, dc in the same space, ch4, sc in the space between the current dc and the previous dc, dc in the same space, ch4, sc in the space between the current dc and the previous dc, dc in the same space, ch4, sc in the space between the current dc and the previous dc, repeat *** in the next space, repeat ** across the row, repeat *** in the last space, sc to the first ch3 in the round, ch3, sc in the space between the current dc and the previous dc, fasten off.
- Repeat from row 1 to 14 using different color.
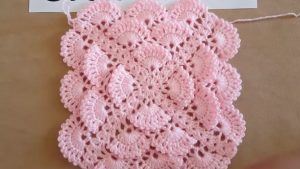
- Now we will work on the joining between 2 strips.
– Border: turn your work 90° clockwise, sc in the next space, ch3, *dc in the same space, ch2, sc to the corresponding st in the previous strip, ch2, sc between the current dc and the previous ch3*, dc in the same space, ch2, sc to the corresponding st in the previous strip, ch2, sc between the current dc and the previous dc, **dc in the next space, ch2, sc to the corresponding st in the previous strip, ch2, sc between the current dc and the previous dc in the current strip, dc in the same space, ch2, sc to the corresponding st in the previous strip, ch2, sc between the current dc and the previous dc in this strip**, repeat ** across the row until reach the last space, dc in the last space, ch2, sc to the corresponding st in the previous strip, ch2, sc between the current dc and the previous dc in the current strip, dc in the same space, ch2, sc to the corresponding st in the previous strip, ch2, sc between the current dc and the previous dc, dc in the same space, ch4, sc between the current dc and the previous dc in the current strip, turn your work 90° clockwise, dc in the next space, ch4, sc in the space between the current dc and the previous dc, dc in the same space, ch4, sc in the space between the current dc and the previous dc, dc in the same space, ch4, sc in the space between the current dc and the previous dc, dc in the same space, ch4, sc in the space between the current dc and the previous dc, turn your work 90° clockwise, dc in the next space, ch4, sc in the space between the current dc and the previous dc, dc in the same space, ch4, sc in the space between the current dc and the previous dc, dc in the same space, ch4, sc in the space between the current dc and the previous dc, *** dc in the next space, ch4, sc in the space between the current dc and the previous dc, dc in the same space, ch4, sc in the space between the current dc and the previous dc***, repeat *** across the row until reach the last space, (dc in the next space, ch4, sc in the space between the current dc and the previous dc, dc in the same space, ch4, sc in the space between the current dc and the previous dc, dc in the same space, ch4, sc in the space between the current dc and the previous dc) in the last space, turn your work 90° clockwise, dc in the next space, ch4, sc in the space between the current dc and the previous dc, dc in the same space, ch4, sc in the space between the current dc and the previous dc, dc in the same space, ch4, sc in the space between the current dc and the previous dc, dc in the same space, ch4, sc in the space between the current dc and the previous dc, sc to the first ch3 in the round, ch4,
– sc in the space between the current dc and the previous dc, fasten off.
- Continue this way until reach the desired length.
Follow CrochetBeja on your favorite social media sites: Facebook, Pinterest, Youtube , Instagram and subscribe for the Newsletter so you don’t miss a thing!
Tutorial and photos of this v puff stitch crochet by: Yagmurun hobileri.

Ruby
Could you do this in english